
Last updated October 16, 2026
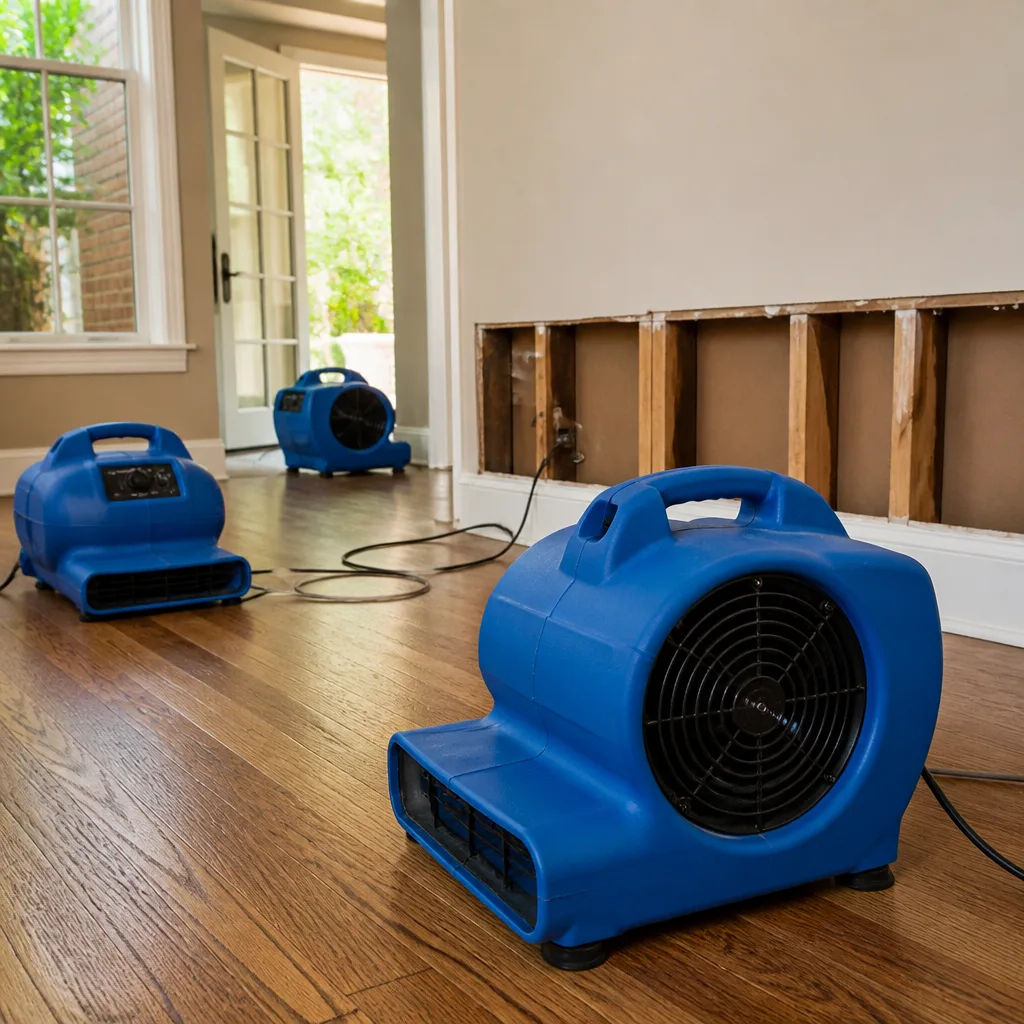 Water damage drying
 Fire & smoke cleanup
 Mold remediation
 Storm response
 Sewage cleanup
 Reconstruction
Free visual inspection and a written scope of work before any mitigation begins - photos, moisture readings, and drying logs go in your claim file
The scope we write is the scope we bill. Anything new gets shown to you, in writing, before we touch it.
Get your free estimateWater Damage Restoration Maintenance Checklist for Tampa Homeowners
The number-one cause of water damage claims in Tampa isn’t hurricanes. It’s slow, hidden leaks from aging polybutylene and CPVC supply lines that fail quietly inside walls for weeks before they’re discovered. By the time you see the stain on the ceiling, the damage behind it has usually been spreading for a long time. This guide gives you a trigger-based inspection routine that catches the conditions that create claims before the water moves, and you can explore more guides & resources for related topics. If you own a home in Tampa, this is the maintenance checklist that actually fits the way our climate works.
Quick Answer
A water damage maintenance checklist for Tampa homeowners should be trigger-based, not calendar-based: inspect after every named storm, after any rain event over three inches, and during each HVAC seasonal switchover. Focus on supply line material, water meter readings, wall cavity moisture baselines, and pre-loss documentation. Most Tampa water damage claims come from slow plumbing leaks and HVAC condensate failures, not storm surge, so the routine has to catch the quiet failures first. For a deeper look at the full process, see The Complete Guide to Damage Restoration in Tampa.
Restoration work we handle
Table of Contents
- Why Tampa Water Risk Is Different
- The Trigger-Based Inspection Routine
- How to Read Your Water Meter to Find Hidden Leaks
- Moisture Baselines for a Healthy Tampa Home
- Failure Points Unique to Tampa Housing Stock
- Documenting Your Pre-Loss Home Condition
- What You Can Check Yourself vs. What Needs a Pro
- Common Mistakes to Avoid
- When to Call a Professional
- Frequently Asked Questions
Why Tampa Water Risk Is Different
Tampa doesn’t have a “water damage season.” We have eleven months of active risk and one month where the risk just slows down. The combination of high humidity, afternoon thunderstorms, a shallow water table, and housing stock that includes a lot of slab-on-grade construction means water moves differently here than it does in drier markets. When we respond to water damage calls in Tampa, the failure almost always traces back to one of three sources: a supply line that’s been seeping inside a wall cavity, an HVAC drain pan that overflowed into a ceiling, or a water heater that failed at the fittings after years of mineral buildup from Tampa’s hard water. None of these announce themselves loudly. They build for weeks or months. That’s why a calendar checklist that says “check your hoses in April” misses the point. In Tampa, the right inspection trigger is an event, not a date.
The other factor most maintenance guides skip is humidity. Tampa’s average relative humidity hovers around 74% for most of the year. That means water that gets into building materials doesn’t dry on its own the way it would in Phoenix or Denver. A small leak behind a baseboard in a Tampa home can keep feeding microbial growth for weeks because the ambient air never pulls the moisture out. This is why we run professional-grade dehumidification equipment from Dri-Eaz and Phoenix on nearly every water loss we handle, and why a homeowner who’s doing their own inspections needs to take moisture readings seriously. In this climate, “it felt dry to the touch” is not a measurement. It’s a guess. And guesses lose to Tampa humidity every time.
The Trigger-Based Inspection Routine
Here’s the routine that replaces the seasonal checklist. Run it after each of these three triggers, and you’ll catch most failures before they become structural.
Trigger 1: After Any Named Storm or 3-Inch-Plus Rain Event
Don’t wait for a hurricane warning. Any rain event that drops three inches or more in 24 hours is enough to test your roofline, your windows, and your slab. Within 48 hours after the rain stops, do this:
- Walk the roofline from inside the attic. Look for dark staining on the underside of the roof deck, especially around penetrations: vents, pipes, and the HVAC flue. Use a flashlight, not your phone screen. Staining that’s still damp to the touch means active intrusion. Staining that’s dry but visible means it’s been happening for a while.
- Check the ceiling corners of every room on the top floor. Flat roof sections are common on Tampa ranches and mid-century builds, and they pool water differently than pitched roofs. Stains at the edges of rooms are the classic flat-roof tell.
- Inspect exterior walls at the baseboard line. Stucco exteriors trap moisture. After heavy rain, water that gets behind stucco can sit against the sheathing and migrate down to the sill plate. Pull back a small section of baseboard in one or two south-facing rooms if you have stucco. If the drywall behind it is damp or soft, you have a drainage plane problem, not a leak.
- Run the water meter test. Full instructions below. A heavy rain event is the most common time for slab plumbing to shift and start leaking.
Trigger 2: At Every HVAC Seasonal Switchover
In Tampa, that means the spring flip from heat to AC, and the fall flip from AC to heat, even though “fall” here is mostly a calendar formality. The AC is the most active water-producing appliance in a Tampa home for eight to ten months a year. Every switchover, do this:
- Check the condensate drain line. Pour a cup of white vinegar down the line, then verify water drains out the other end. Clogged drain lines are one of the most common sources of Tampa water damage calls we field. A clogged line means the pan fills, overflows, and dumps water through the ceiling below the air handler.
- Inspect the drain pan itself. If the pan is rusted through or cracked, it won’t hold water even if the line is clear. A $40 pan replacement prevents a $4,000 ceiling repair.
- Verify the float switch works. Most Tampa AHUs are in the attic or a closet. The float switch in the drain pan should shut the AC off if water rises. Test it by lifting the float. If the unit keeps running, replace the switch.
Trigger 3: Once a Month, on the First Saturday
One calendar item stays. On the first Saturday of every month, run the under-sink and appliance check. It takes 20 minutes. Open every cabinet that houses a supply line, water heater, washing machine, or dishwasher. Look for: weeping at compression fittings, green or white mineral buildup on copper or brass, bulging or discolored braided stainless lines, and any musty smell inside cabinets. Run your hand along the base of every shutoff valve. A dry valve is reassurance. A damp valve is an appointment.
Most supply line failures in Tampa happen at the connection point, not the middle of the pipe. That’s where the water pressure, mineral content, and heat all concentrate. If you see any sign of weeping, corrosion, or a soft spot on a braided hose, shut the fixture off at the wall valve and replace the line before it fails under pressure. Supply line replacement is a $15 part and 20 minutes. The repair after a burst is measured in days and thousands of dollars.
How to Read Your Water Meter to Find Hidden Leaks
Insurers will never tell you this, but your water meter is the single most reliable leak detection tool on your property. It can catch a slab leak or a behind-wall pinhole months before any visible stain appears. The test takes ten minutes and costs nothing.
Step-by-Step Meter Test
- Shut off every water-using appliance and fixture. That includes ice makers, irrigation systems, water softeners, and the washing machine. If you have a smart irrigation controller, make sure it isn’t scheduled to run during the test window.
- Locate your meter. In most Tampa neighborhoods, the meter is in a covered box near the street or the property line. The box lid may say “water” or just have the utility mark. A screwdriver or a meter key opens it. If the box is full of mud or standing water, clear it out so you can see the dial.
- Read the leak indicator first. Most meters have a small triangle, gear, or small dial that spins when any water moves at all. If that indicator is moving while everything is shut off, you have a leak. If it’s perfectly still, you may still have a slow seep behind the meter’s sensitivity threshold, so continue to step 4.
- Record the full reading to the last digit. Write down the exact number. Include every digit shown. Go back inside and wait 20 minutes. Don’t flush, don’t wash, don’t run anything.
- Return and re-read the meter. If the number moved at all during that 20-minute window with everything off, water is leaving your system somewhere. Inside the plumbing, behind a wall, under the slab. That’s an active leak, and it’s not going to fix itself.
- Run the long test if the short test is clean. Check the meter before bed and again before the first shower in the morning. The overnight test catches the slowest seeps. A meter that moves a half-gallon overnight might be a pinhole supply leak, a running toilet flapper, or an irrigation valve that’s letting by. Identify which by process of elimination, but don’t write it off as “just the toilet” until you’ve confirmed the toilet flapper is the source.
What Your Meter Reading Tells Us on a Service Call
When we walk a water loss in Tampa, one of the first things we ask is whether the homeowner has run a meter test. If they have, and the meter moved, we know before we open a wall that we’re looking for a plumbing failure, not a weather intrusion. That changes the scope of the job, the equipment we bring, and how we document the loss for insurance. A homeowner who can say “the meter moved 0.7 gallons overnight” is starting the claims conversation with evidence, and evidence moves claims faster than argument does. The Garrison Standard we work to starts with documentation, and your meter log is the first page of that file.
Moisture Baselines for a Healthy Tampa Home
Here’s a number most Tampa homeowners have never been told: in a healthy, dry home in this climate, the moisture content of interior wall framing should sit between 8% and 12%. That’s the equilibrium range for wood in a conditioned space with Tampa’s ambient humidity. When wall cavity materials read above 16%, you have a moisture problem that needs an explanation. Above 20%, you have active water intrusion or a drying situation that’s already attracting mold. These are the baselines we use when we run moisture mapping on a water loss, and they’re the same baseline you can use to catch problems during your own inspections.
Tools That Give You a Reliable DIY Baseline
- A pin-type moisture meter. Under $40 at any hardware store. It has two small probes you press into the material. Pin meters are the most accurate for baseboards, drywall, and wood framing. They leave tiny pinholes, but on a baseboard or inside a clost, that’s invisible and irrelevant.
- A pinless moisture meter. More expensive, but it scans through surfaces without penetrating. Good for checking large areas quickly: the bottom two feet of drywall after a heavy rain, the floor around a toilet flange, the wall behind a washing machine. The reading is less precise at depth, but it tells you where to investigate further.
- A basic humidity monitor. The kind that reads ambient relative humidity and temperature. You want indoor RH between 45% and 55%. Sustained readings above 60% inside a Tampa home mean the AC isn’t dehumidifying properly, the home is over-conditioned for its tightness, or there’s a moisture source you haven’t found.
The key is to take baseline readings before you suspect a problem. Write down what your walls read in the dry season, in the wet season, after an afternoon thunderstorm, and during a cold snap. That’s your “normal” for this specific house, in this specific Tampa block, under these specific conditions. When a reading deviates from your baseline by more than four points, you know something changed. Without a baseline, you’re comparing a number to a guess. A written moisture log is part of the pre-loss documentation that makes future insurance claims cleaner and faster. It’s also the difference between catching a slab leak in week one and finding it in month six, after the cabinets, the baseboards, and the drywall have all taken on the moisture and need to be removed.
Failure Points Unique to Tampa Housing Stock
Tampa’s housing stock has specific vulnerabilities that generic maintenance guides don’t cover. If your home falls into any of these categories, your inspection routine needs to account for them.
Flat and Low-Slope Roofs
A significant share of Tampa homes built between the 1950s and the 1980s have flat or low-slope roof sections. Flat roofs don’t shed water the way pitched roofs do. They hold it. A 3-inch rain event can leave standing water on a flat roof for 24 to 48 hours, and every hour of standing water tests the membrane. The failure points on Tampa flat roofs are the same ones we see on every water loss from this age of construction: seams at parapet walls, penetrations around exhaust fans and plumbing vents, and areas where the membrane has been patched repeatedly. If you have a flat roof, inspect the underside of the deck after every major rain event. Look for bulging, dark spots, or water staining that feels damp. Don’t wait for the ceiling below to show a stain. By then, the insulation in the roof cavity is already saturated and the structural decking is taking on water.
Stucco Exteriors
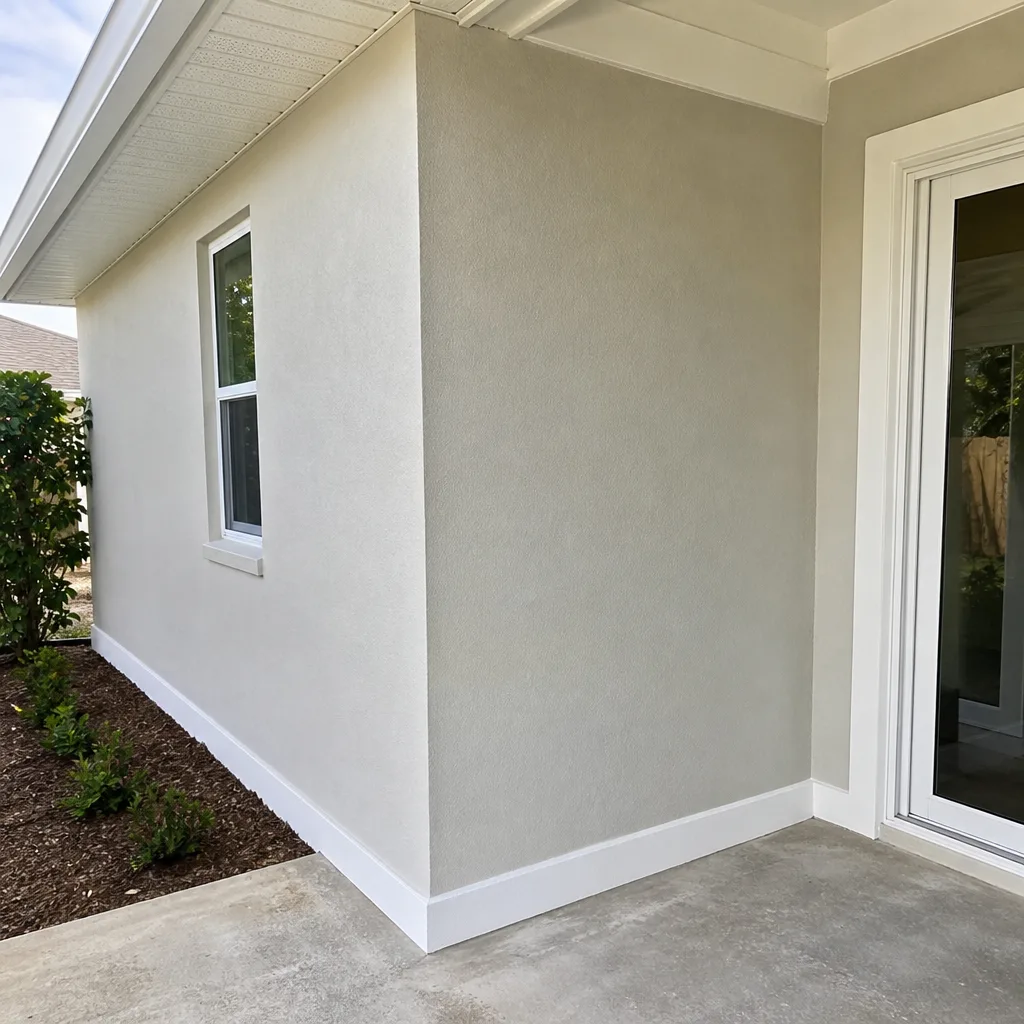
Stucco is a cementitious cladding, and in Tampa’s humid climate, it behaves differently than it does in the desert Southwest where many stucco homes were originally designed. Tampa stucco sits over wood framing, and when the stucco develops hairline cracks or the flashing at windows and doors is compromised, water gets behind the cladding and sits against the sheathing. The sun hits the stucco, the stucco heats up, and the trapped moisture gets driven inward. The result is slow, progressive damage to the wall assembly that you can’t see from outside. The tell is on the inside: bubbling paint, baseboards that have swollen or cracked, or a musty odor that comes and goes with the weather. The fix is never a coat of paint. It’s finding where the water is getting in and whether the drainage plane behind the stucco is functioning. When we document a stucco-related water loss in Tampa, we map the moisture through the entire affected wall section to find all the damage, not just the stain.
Slab Plumbing
Slab-on-grade construction is the norm across most of Tampa’s post-1970 housing stock. Water supply lines run under the concrete slab, which means the plumbing is physically inaccessible to visual inspection. A slab leak can run for months before anyone notices anything, because the water doesn’t pool on the floor. It finds the path of least resistance through the soil under the slab, and the first sign is often a hot spot on the floor, a sudden spike in the water bill, or a watermark that appears at the base of an interior wall with no plumbing fixture nearby. The meter test is the primary defense against slab leaks. It catches the pressure loss before the water moves far enough to damage the slab itself. If you have an older home with original copper supply lines under the slab, run the meter test monthly. Copper in contact with Tampa soil corrodes gradually, and the failure point is almost always somewhere you can’t see and can’t patch.
Documenting Your Pre-Loss Home Condition
Insurance claims turn on evidence. The most expensive phrase in a water damage claim is “it wasn’t like that before the leak,” spoken without any photos to prove it. Pre-loss documentation is the difference between a claim that settles in three weeks and one that spends three months in dispute. Here’s the documentation set we recommend every Tampa homeowner build now, before anything goes wrong.
- Photograph every room, every wall, every ceiling. Use your phone. Stand in each corner and shoot the full room. Then shoot the ceiling, the floors, the inside of every cabinet, the walls behind the washing machine, the area around the water heater. Do this on a rainy day and on a dry day. The photos prove what your home looked like before the loss. Without them, the adjuster’s only reference is the photo after the loss, and that photo shows damage, not condition.
- Photograph all moisture-prone areas specifically. Under every sink, the ceiling directly below every bathroom, the wall behind every exterior hose bib, the grout lines around every shower pan and tub surround, the baseboards in every room with a south or west exposure. These are the places water shows up first, and a clear pre-loss photo of “no stain here” is worth a thousand words when the claim is being negotiated.
- Keep a dated moisture log. The same moisture baseline readings from the section above. Log them with the date, the outdoor weather conditions, and any recent rain. A homeowner who can show an adjuster a year of baseline moisture readings saying “this wall read 9% every month until the storm, now it reads 22%” has shifted the conversation from “was this pre-existing?” to “this changed, and here’s the date it changed.”
- Photograph the plumbing you can see. The shutoff valves, the supply lines under each sink, the water heater fittings, the washing machine hoses. When a supply line fails, the standard adjuster question is whether the homeowner maintained the line. Documentation of regular visual inspections, with photos, is the maintenance record. It works the same way as oil change records for an engine. The day you file a claim is not the day to start proving you maintained things.
- Keep appliance receipts and install dates. Water heaters, washing machines, dishwashers, and AC systems all have expected service lives. When one fails at a fitting at year 14 of a 12-year service life, the claim conversation is simpler if you can show the unit’s age rather than ask the adjuster to trust your memory. A photo of the serial number and a note about the install date is enough.
We run every job to the documentation standard at Keegan Restoration Tampa, and part of that means we hand you a record of what we found, what we measured, and what we did. The same discipline works for homeowners before the loss. Make the file before you need the file. Your future claim, if you ever have to file one, starts with your evidence, not an argument.
What You Can Check Yourself vs. What Needs a Pro
Half of the inspection routine above is genuinely DIY. Reading a moisture meter, running a meter test, checking under sinks, and inspecting an attic after a rain event are all within reach of a Tampa homeowner who’s willing to spend 20 minutes a month in the crawlspace and the cabinets. But there are specific situations where calling a professional before you open the wall is the right move. Here’s the line.
Check This Yourself
- Water meter readings and overnight tests
- Under-sink and appliance connection inspections
- Attic inspections after rain events, looking for staining
- Moisture meter readings on exposed surfaces: baseboards, drywall faces, cabinet bottoms
- HVAC drain pan and condensate line checks at switchover
- Documentation and photography of all of the above
Have a Pro Handle This
- Any moisture reading above 16% in wall framing or baseboards that can’t be explained by a recent spill
- Any visible mold growth on building materials beyond surface film on tile grout
- Water staining on ceilings that has spread to more than one room
- Any situation where water is actively running or pooling inside the living space
- Any smell that you’d describe as musty, earthy, or “old house” that doesn’t clear when the AC runs
- Any post-storm situation where you suspect roof damage but can’t safely access the attic
- Any slab leak confirmed by the meter test
The professionals we use for our Water Damage Restoration services in Tampa run commercial-grade moisture detection equipment and thermal imaging that reads through finished surfaces. They can map a moisture migration path through a wall assembly without tearing out all the drywall. That’s not DIY territory, and it shouldn’t be. The goal of the homeowner’s inspection routine is to know when to make the call, not to replace the professional’s diagnostic tools. If you’ve found the problem early, the professional’s job is easier, the scope is smaller, and the repair is cheaper. The worst calls are the ones homeowners waited on because they didn’t want to know.
Common Mistakes to Avoid
- Trusting “dry to the touch” in a Tampa summer. Ambient humidity here keeps materials damp below the surface for days after the source is removed. A wall that feels dry can still read 20% on a moisture meter. Touch is not a measurement in this climate. Use a meter or trust the professionals who do.
- Painting over a stain after the source is fixed. The stain means the material took on water. If the material isn’t dried or removed, the stain comes back, and what’s behind the paint is actively degrading. Prime-and-paint is a cosmetic fix for a structural problem. The Garrison Standard is to address the source, dry the material, and then repair the surface.
- Assuming your homeowner’s policy covers slow leaks. Many policies exclude or cap damage from leaks that have been “ongoing for more than 14 days.” A slow leak you didn’t notice for six months may not be fully covered. The maintenance routine in this guide exists to catch leaks before they pass the “ongoing” line. That’s not just good maintenance; it’s good claims strategy.
- Skipping the meter test because you found the obvious leak. One visible leak doesn’t mean there isn’t a second one. The meter test catches the leaks you can’t see, and the overnight version catches the seeps that are still building pressure against a pipe fitting somewhere. Run both, even when you think you’ve found the problem.
- Using a household fan to dry a saturated wall cavity. A box fan moves air across the surface. It doesn’t pull moisture out of the stud bays behind the drywall, and in Tampa’s humidity, it may just be circulating damp air through the house. Professional drying uses low-grain refrigerant dehumidification from units like those made by Dri-Eaz and Phoenix, designed to pull water vapor out of the material, not just over it. Surface drying looks fine until the mold inside the wall cavity shows up months later.
- Not documenting a condition because “it’s probably nothing.” The moisture log entry you skip today is the missing evidence in a claim next year. Photograph the “probably nothing” spot. Note it in the log. If it’s nothing, you’ve spent 30 seconds. If it’s something, you have a pre-loss record that changes the claim conversation.
- Running the AC with a known condensate line problem. The unit will keep producing water, and that water has to go somewhere. If the line is clogged, the pan overflows, and gravity delivers the water through the ceiling below the air handler. Shut the system down, clear the line or call a professional, and deal with the pan before the ceiling becomes the next problem. In Tampa’s shoulder seasons, the AC can run for eight hours a day, which means a clogged line is an active water source for eight hours a day until someone fixes it.
When to Call a Professional
Call a professional when the meter test confirms a hidden leak you can’t locate, when moisture readings are above 16% in framing or baseboards, when water staining appears on ceilings or walls with no obvious source, when you smell that musty, earthy odor that doesn’t clear with ventilation, or when you’ve had any water event larger than a spill from a sink. Water that gets into wall cavities, under cabinets, or through ceilings moves faster than it looks like it does, and Tampa’s humidity means it won’t dry on its own. Keegan Restoration Tampa offers free estimates in Tampa, and a live person answers the phone 24 hours a day. Call (850) 367-1316 if you’ve found something or if you’re not sure whether what you’ve found matters. The call is free, and the estimate is in writing before anything starts.
Frequently Asked Questions
In a Tampa home, water damage inspections should be triggered by events, not dates: after any named storm, after any rain event over three inches in 24 hours, and during every HVAC seasonal switchover. These are the moments when Tampa’s water infiltration risk is highest, and inspecting at these times catches failures early rather than waiting for a calendar month that may have no relationship to the actual risk.
Water damage restoration in Tampa ranges from $1,200 to $4,500 for a typical Category 1 (clean water) loss in a single room, and from $4,000 to $15,000 or more for multi-room losses, Category 2 or 3 (contaminated) water, or losses involving structural drying and reconstruction. The price depends on the water category, the square footage of affected materials, the drying time required, and whether contents need move-out and cleaning. For detailed pricing expectations, refer to our Damage Restoration Cost Breakdown: The Tampa Homeowner’s Reference for 2026. Keegan Restoration Tampa puts the price in writing before any work starts, so there’s no adjuster negotiation at the door.
Insurance coverage for slow leaks depends on your policy language and how long the leak has been active. Many policies exclude or limit coverage for leaks that have been “ongoing for more than 14 days” before discovery. That’s why the meter test and monthly inspection routine matters: you want to discover the leak before it passes the policy’s threshold. Keegan documents every job to support your insurance claim, with photo evidence and moisture readings formatted for adjuster review.
A live person answers the phone at Keegan Restoration Tampa 24 hours a day, 7 days a week, including nights, weekends, and holidays. When water is actively damaging a home in or around Tampa, we dispatch background-checked, uniformed technicians to the property as quickly as logistics allow, with professional-grade extraction and drying equipment from Dri-Eaz and XPOWER on the truck. The goal is to start extraction and stop the spread before the next hour of exposure makes the damage worse.
The answer depends on the water category and the materials affected. Clean water from a supply line on tile flooring may need drying, not remediation. Gray or contaminated water, or clean water that has saturated drywall, insulation, or wood framing, typically requires removing the affected materials to stop the moisture from moving further into the structure. In Tampa’s humidity, saturated materials don’t dry out on their own; they stay wet and support growth. A professional assessment with moisture mapping tells you what actually needs to come out versus what can be dried in place.
You deal with your adjuster, but Keegan Restoration Tampa supports the conversation. We document every job with photos, moisture readings, scope-of-loss charts, and line-item repair plans formatted for adjuster review. The documentation is yours to submit, and it gives your adjuster the evidence they need to approve the work rather than spend weeks sending requests for more information. We’ve been part of the Garrison Partners family since 2005, and the documentation standard we run to exists because it makes claims move faster and with fewer arguments. Call (850) 367-1316 for a free estimate and we’ll walk you through what the documentation set looks like before any water moves.
The Bottom Line
Tampa homeowners need a trigger-based water damage maintenance routine, not a calendar one. Inspect after every named storm, after every 3-inch-plus rain event, and during every HVAC switchover. Run the water meter test monthly, keep moisture baselines and a written log, document your pre-loss condition with photos and receipts, and know which failures are specific to your housing type, whether that’s flat roofs, stucco, or slab plumbing. The goal is to find leaks before they pass the “ongoing” threshold in your insurance policy, so the claim starts with evidence instead of argument. If you find something, call (850) 367-1316. The estimate is free, the price is in writing before work starts, and the repair is backed by the 365-Day Done Right Promise for a full year.
Written by Shane Pruitt, Owner at Keegan Restoration Tampa, serving Tampa since 2005.
See the difference
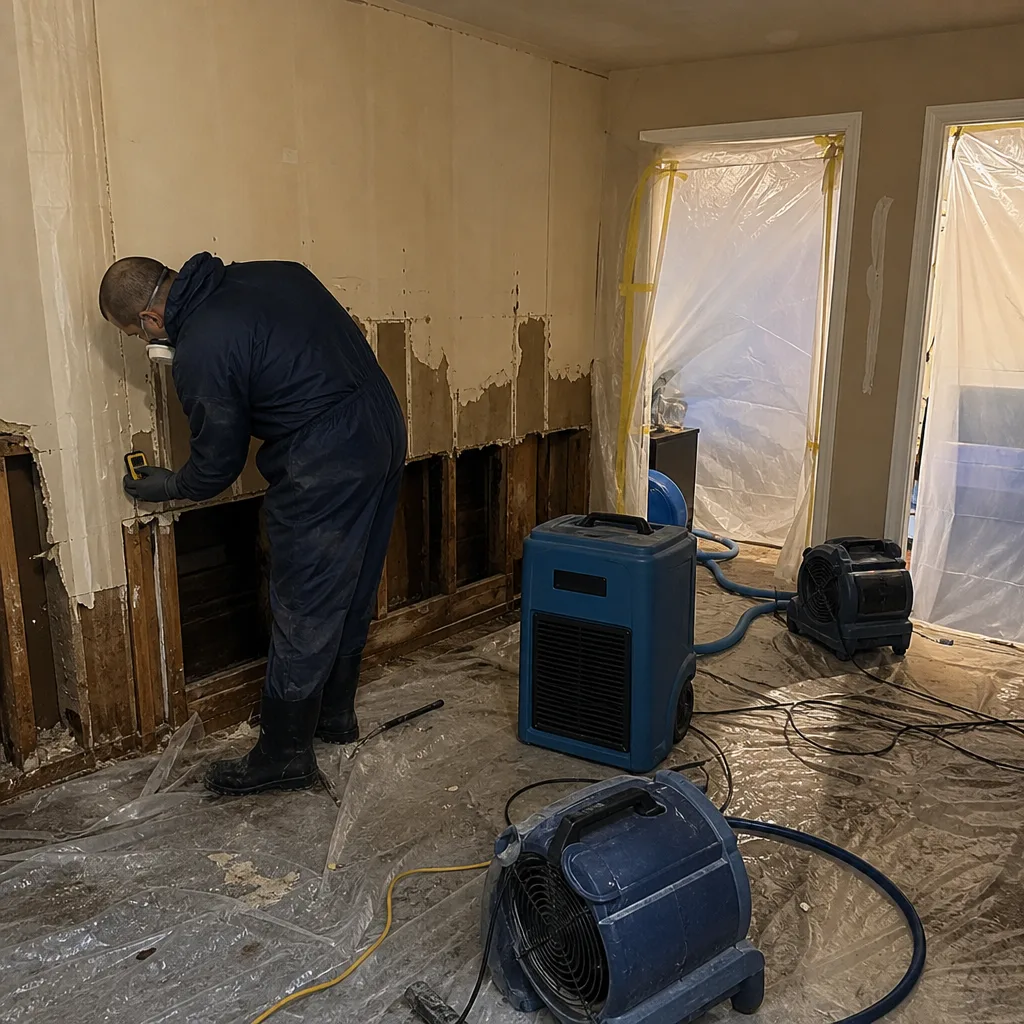 Before
 After
After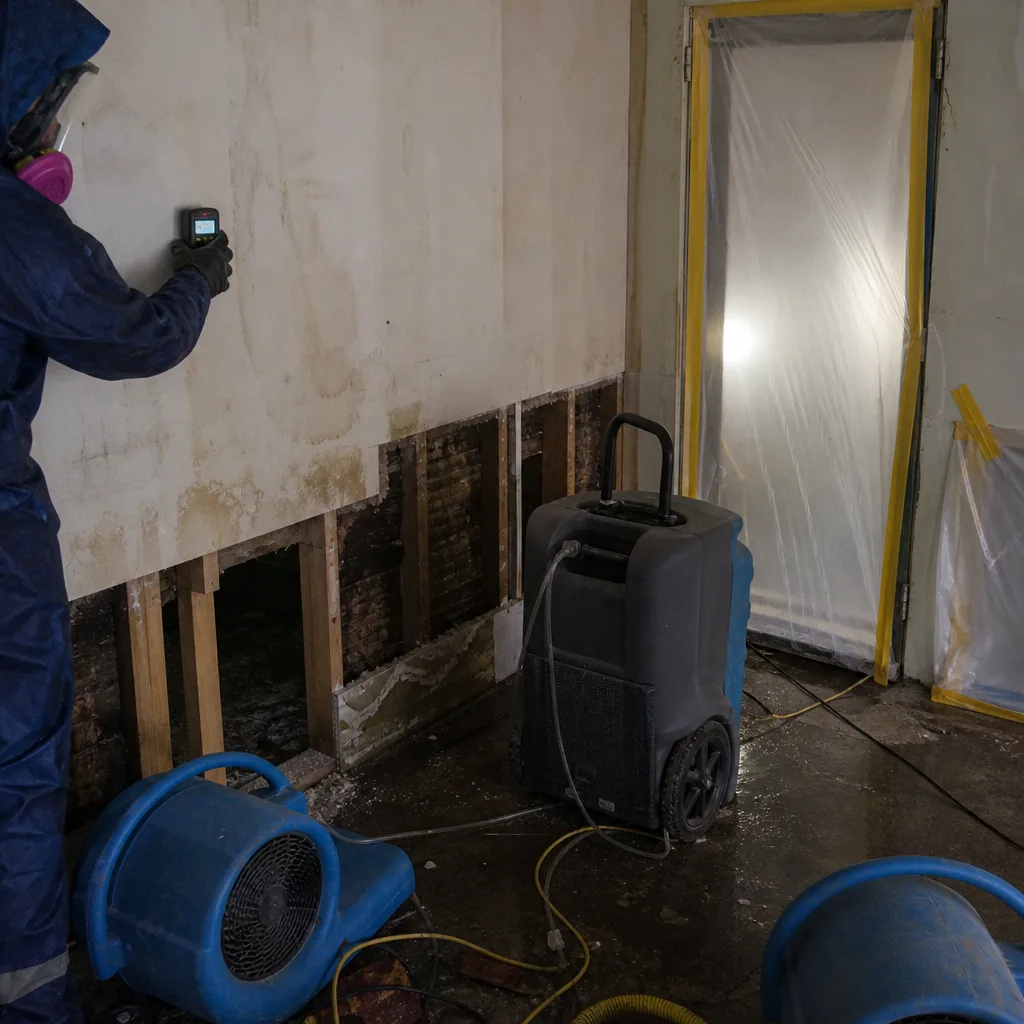 Before
 After
After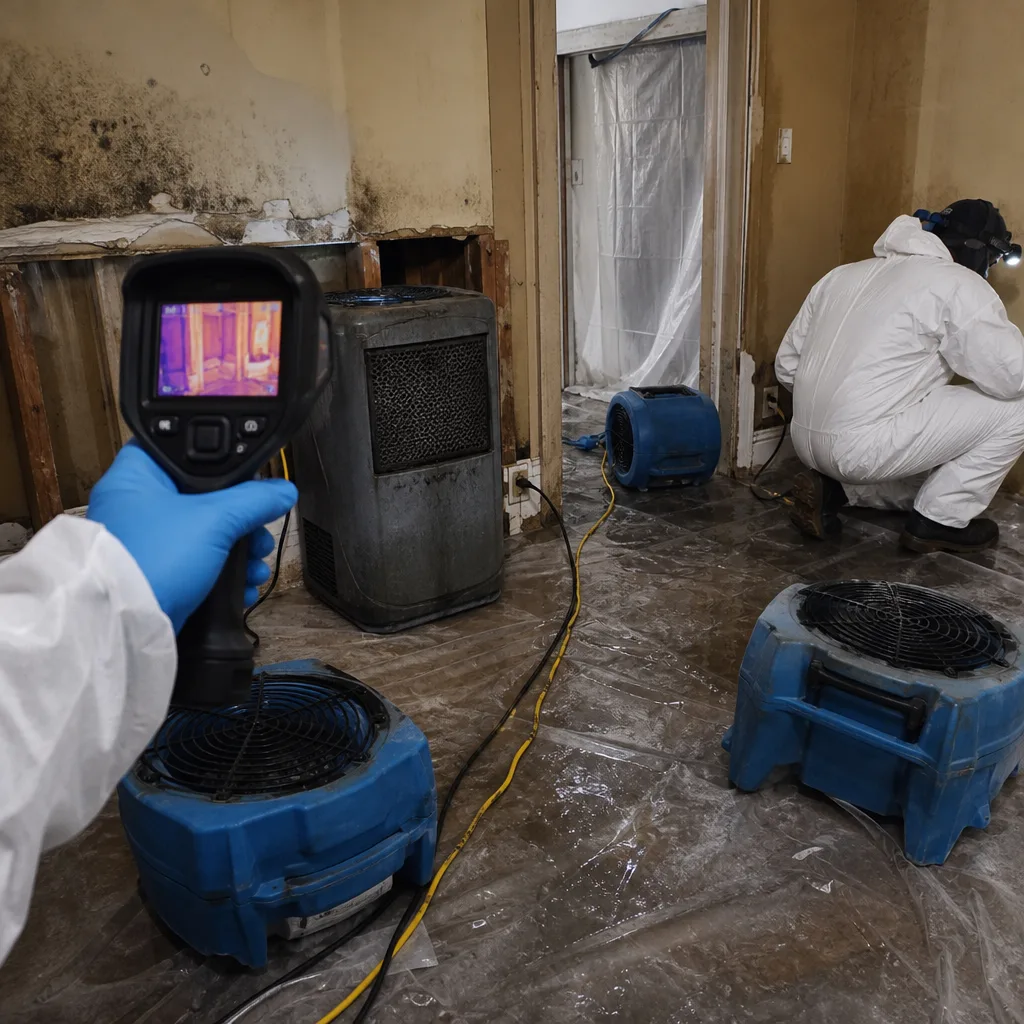 Before
 After
After