
Last updated October 16, 2026
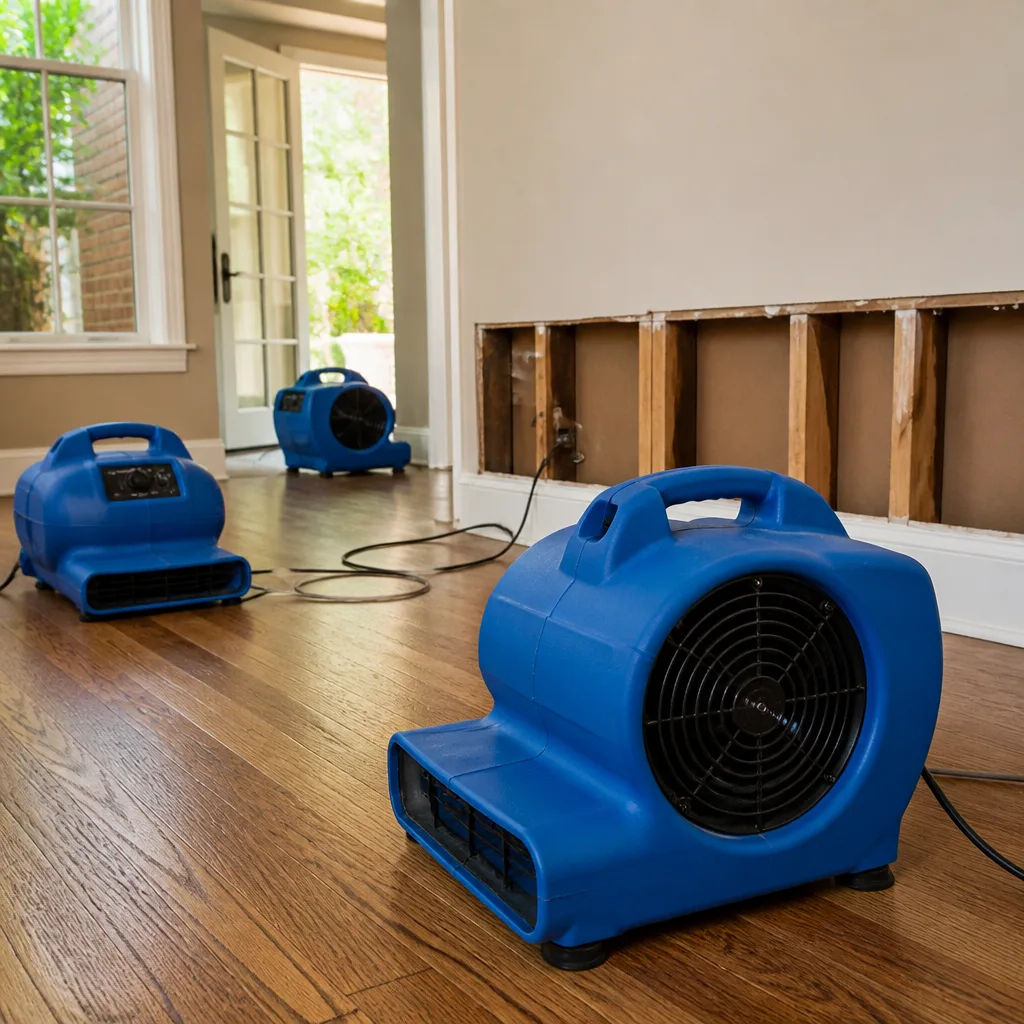 Water damage drying
 Fire & smoke cleanup
 Mold remediation
 Storm response
 Sewage cleanup
 Reconstruction
Free visual inspection and a written scope of work before any mitigation begins - photos, moisture readings, and drying logs go in your claim file
The scope we write is the scope we bill. Anything new gets shown to you, in writing, before we touch it.
Get your free estimateSeasonal Damage Restoration Care for Tampa: Year-Round Homeowner’s Guide
Tampa doesn’t have four seasons. It has two damage seasons, and both of them can wreck a house. The wet season runs June through October, when named storms, afternoon downpours, and wind-driven rain push water into places it was never supposed to go. The dry season, November through May, is quieter on the surface, but it’s when hidden moisture from the previous wet season goes to work inside wall cavities and under flooring. The majority of mold remediation jobs we run in January and February trace directly to water intrusion from the previous August or September. Damage that was never properly dried or documented sits in Tampa’s warm, humid wall cavities for five months before the smell finally forces action.
This guide lays out a year-round plan for protecting your Tampa home. You’ll learn which tasks belong in which month, why the dry season is the right time to address wet-season findings, how to build a pre-storm documentation file, and when to call a professional instead of waiting.
Restoration work we handle
Quick Answer
Tampa homeowners need a year-round damage prevention plan built around two seasons: a wet season (June through October) that demands pre-storm documentation, gutter and seal checks, and fast drying after any water intrusion; and a dry season (November through May) that is the correct window for addressing wet-season moisture findings, servicing HVAC condensate drains, and completing repairs when lower humidity allows faster, more complete drying. The single highest-leverage task is documenting your home’s condition each May before storm season begins.
Table of Contents
- Tampa’s Two Damage Seasons: Why Generic Seasonal Advice Fails Here
- The Tampa Month-by-Month Home Care Calendar
- Why the Dry Season Is the Right Time to Fix Wet-Season Damage
- HVAC Condensate Drains: Tampa’s Year-Round Interior Flood Risk
- Post-Wet-Season Roof and Window Seal Assessment: The Window Most Homeowners Miss
- The May Documentation Routine: Building a Pre-Storm Baseline
- Common Mistakes to Avoid
- When to Call a Professional
- Frequently Asked Questions
- The Bottom Line
Tampa’s Two Damage Seasons: Why Generic Seasonal Advice Fails Here
Generic seasonal home maintenance advice assumes four seasons and a freeze-thaw cycle. Tampa has neither. Our climate is subtropical, with an average annual rainfall around 50 inches, most of it falling between June and September. Humidity rarely drops below 60 percent, and during the wet season it routinely sits above 80 percent. That changes how water behaves inside a house.
Here’s the problem: in a dry climate, a small roof leak or window seal failure might dry on its own. In Tampa, it doesn’t. Once moisture gets into a wall cavity or under flooring, the ambient humidity keeps it wet for months. Mold colonization begins within 24 to 48 hours of saturation, and it continues as long as the moisture source remains. By the time you smell it, the colony has usually been growing for weeks or months.
We see this pattern every year at Keegan Restoration Tampa home. A homeowner notices a musty smell in January. We open the wall and find water staining and mold growth that traces back to a storm in September. The leak was small enough to go unnoticed, but persistent enough to keep the cavity damp for months. That’s the core difference between Tampa and most of the country: water intrusion doesn’t resolve itself here. It compounds.
So the year splits into two operational modes. From June through October, you focus on prevention, fast response, and documentation. From November through May, you focus on inspection, drying, repair, and preparation for the next cycle. Both modes matter. Skipping the dry-season work is how small wet-season intrusions become five-figure mold remediation jobs.
The Tampa Month-by-Month Home Care Calendar
This calendar maps specific tasks to Tampa’s actual risk drivers. It’s not generic advice about raking leaves or insulating pipes. It’s built around wind-driven rain, humidity, HVAC runtime, and the post-storm inspection window.
January: The Mold Discovery Month
- Walk every room and sniff for musty odors, especially in closets, bathrooms, and rooms with exterior walls.
- Check ceilings below attic spaces for faint yellow or brown staining. After months of warm humidity, old water stains can become visible even if the original leak was small.
- Inspect baseboards in rooms that share a wall with a bathroom or laundry. Warped or discolored baseboard is a sign of slow, persistent moisture.
- Test your HVAC condensate drain by pouring a cup of water into the drain line access point and confirming it flows freely.
Why January matters: this is when hidden wet-season damage announces itself. The cooler temperatures mean windows stay closed more often, so odors concentrate. If you catch it in January, you still have four months of dry-season drying conditions ahead.
February: Dry-Season Repair Planning
- If you found moisture or mold in January, schedule a professional assessment now. Lower humidity means faster, more complete drying once repairs begin.
- Check attic insulation for damp spots or compressed areas. Compressed insulation often means water dripped onto it and evaporated.
- Inspect window tracks and sills for paint bubbling or wood softening, signs that rain has been getting past the exterior seal.
- Review your homeowner’s insurance policy. Confirm what your deductible is and what perils are covered before you need to file a claim.
February is the planning month. The work you identify now can be completed before the humidity returns in late spring.
March: Exterior Envelope Repairs
- Repair or replace damaged window seals and weatherstripping.
- Re-caulk around exterior door and window frames where the old caulk is cracked or pulling away.
- Check the roof flashing around vents, skylights, and chimneys. Loose or corroded flashing is among the most common entry points for wind-driven rain.
- Clean and test gutters and downspouts. Tampa’s oak trees drop leaves year-round, and clogged gutters overflow directly against the foundation and exterior walls.
March is when the dry-season repair window is at its best. Temperatures are moderate, humidity is at its annual low, and there are typically four to six weeks before the first significant rain pattern returns.
April: HVAC and Moisture Control Systems
- Have your HVAC system serviced. The condensate drain line and drip pan should be cleaned and tested.
- Replace the air filter. A clogged filter reduces airflow, which causes the evaporator coil to run colder and produce more condensation.
- Check the condensate drain line for algae or sludge buildup. In Tampa, this line runs almost continuously from March through November, and biological growth inside the line is common.
- If you have a crawlspace, check the vapor barrier for tears or gaps. Crawlspace moisture is a persistent contributor to indoor humidity and mold growth in Tampa homes.
April is system month. Your HVAC system is about to enter its longest, hardest run of the year, and it is simultaneously one of the most common sources of interior water damage in Tampa.
May: The Documentation Month
- Take exterior photos of your home from all four sides, including the roof if you can get a clear shot from the ground.
- Photograph every room, including closets, bathrooms, garage, and laundry area. Wide shots first, then close-ups of any existing damage, stains, or cracks.
- Photograph the roof, gutters, and downspouts. Note any existing damage so you can distinguish pre-existing conditions from storm damage later.
- Write a short note describing your home’s condition, noting any existing leaks, stains, or damage with dates.
- Save everything to a cloud folder named “Home Documentation 2025” (or the current year).
This takes under an hour. If a storm damages your home between June and October, this documentation gives your insurance claim a clean baseline. Without it, you’re arguing with an adjuster about what existed before the storm. With it, you’re handing them evidence.
June through August: Wet-Season Response Mode
- After any heavy rain event, walk the house and check ceilings, window sills, and door thresholds for evidence of water intrusion.
- Keep gutters and downspouts clear. Afternoon thunderstorms can drop an inch of rain in 30 minutes, and a clogged gutter sends that water straight down the exterior wall.
- If you see water intrusion, act immediately. Extract standing water, remove wet materials, and start drying within 24 hours to minimize mold risk.
- Keep your documentation file updated. If you see new damage after a storm, photograph it the same day.
September and October: The Post-Storm Audit
- Inspect the roof for missing or lifted shingles, especially after any named storm passes within 100 miles of Tampa. Wind can lift shingles without causing immediate leaks, but the next rain finds the gap.
- Walk the attic and look for daylight coming through the roof deck, damp insulation, or water stains on rafters.
- Check all exterior doors and windows for water staining below the frames.
- Photograph any new findings and add them to your documentation file.
September and October are when most water intrusion in Tampa actually happens. The ground is saturated, the storms are frequent, and wind-driven rain finds every weakness in the building envelope. The audit you run in these months determines how much work you’ll have in February and March.
November and December: Reassess and Repair
- If you found damage during the wet season, schedule professional drying and repair now. The dry-season conditions make this the cheapest and fastest time to fix it.
- Re-check the spots where you saw moisture earlier in the year. Confirm they are dry and remaining dry.
- Clean gutters again after the oak leaf drop in late fall.
- Review your documentation file and start next year’s clean baseline.
Why the Dry Season Is the Right Time to Fix Wet-Season Damage
Here’s a fact most Tampa homeowners don’t know: repairing water damage during the dry season costs less and fixes more (see our Damage Restoration Cost Breakdown: The Tampa Homeowner’s Reference for 2026). The reason is simple physics. Moisture moves from wet materials to dry air through evaporation. When the air is already saturated, evaporation slows dramatically, and drying equipment works harder for longer.
In January and February, Tampa’s average outdoor relative humidity runs between 50 and 65 percent, compared to 75 to 90 percent in August. That means professional-grade drying equipment can pull moisture out of wall cavities and flooring much more efficiently. A drying job that takes five days in August might take three days in February. That translates directly to lower equipment costs and less time with your home torn apart.
The dry season also allows for more accurate moisture mapping. When we run a scope of loss on a water damage or Mold Remediation in Tampa job, we use moisture meters and thermal imaging to identify exactly where water has traveled. In high humidity, ambient moisture can create false positives and make it harder to distinguish between a damp spot and a truly saturated cavity. Dry-season conditions produce cleaner readings. We can see precisely where the damage stops, which means we remove exactly what needs to be removed and nothing more.
There’s also a scheduling advantage. The wet season generates a surge of emergency water damage calls. Every restoration company in Tampa is running at capacity in August and September. In January and February, the emergency volume drops, which means you can schedule non-emergency repairs on your timeline, get more attention from the crew, and often complete the work faster.
The lesson: if you find moisture or mold in your home, don’t wait until the next storm season to deal with it. The dry season is when repairs happen fastest, cost least, and get done most completely.
HVAC Condensate Drains: Tampa’s Year-Round Interior Flood Risk
In most of the country, HVAC systems run heavily for a few months and then rest. In Tampa, your air conditioner runs nearly every day. That means your condensate drain line is working almost continuously, and it is among the top three sources of interior water damage claims we see.
Here’s how it works. Your air conditioner pulls moisture out of the air as it cools your home. That moisture collects in a drip pan and flows out through a condensate drain line. Over time, algae, mold, and mineral deposits build up inside that line. When the line clogs, the water backs up into the drip pan. When the pan overflows, water runs into the ceiling, down the walls, or across the floor, depending on where your air handler is located.
The damage from an overflowing condensate pan can be substantial. If the air handler is in an attic, water can soak through the ceiling, saturate drywall, and drip into the living space below. If it’s in a closet or utility room, it can damage flooring, baseboards, and adjacent walls. In Tampa’s humidity, any of that water left behind becomes a mold source within 48 hours.
How to maintain your condensate drain:
- Locate the condensate drain line. It’s typically a PVC pipe leaving the air handler and running to a floor drain, outside wall, or condensate pump.
- Once a month, pour a cup of white vinegar or a commercial condensate drain cleaner into the drain line access point. This helps break down biological growth.
- Check the drip pan under the air handler. If it’s holding water, the drain line is clogged.
- Replace the HVAC air filter every 30 to 60 days. A dirty filter reduces airflow, which causes the evaporator coil to run colder and produce more condensation.
- Have an HVAC professional service the system once a year, with specific attention to the condensate drain and drip pan.
If you see water around the base of your air handler or staining on the ceiling below an attic unit, shut the system off and call a professional. The longer the water runs, the more of your home it affects.
Post-Wet-Season Roof and Window Seal Assessment: The Window Most Homeowners Miss
Every November, thousands of Tampa homeowners close their hurricane shutters, put away the sandbags, and stop thinking about their roofs and windows until the following June. That’s a mistake, and it’s an expensive one. The post-October inspection window is when you can identify and fix damage before it has another six months to worsen.
Here’s what we know from running Water Damage Restoration in Tampa jobs: the damage that causes the biggest claims is rarely the dramatic roof rip or shattered window. It’s the small stuff. Lifted shingles. Failed sealant around a window frame. A tiny gap in the flashing around a vent pipe. These defects don’t cause a flood during the storm. They let small amounts of water in, again and again, over months. By February, the wall cavity is saturated, and the homeowner has a mold problem they never saw coming.
What to check each November:
- Walk around the property and look at every window frame. Check for cracked caulk, gaps between the frame and the wall, or paint that is bubbling or peeling.
- Inspect the roof from the ground with binoculars. Look for shingles that are lifted, curled, or missing. Look for dark spots or moss growth, which can indicate trapped moisture.
- Check the flashing around roof penetrations: vent pipes, exhaust fans, skylights, and the chimney. Flashing that has pulled away from the roof surface is a direct water entry point.
- Inside the house, check every window sill and the wall below every window for staining, softening, or paint bubbling.
- Go into the attic on a sunny day and look for any spot where daylight is visible through the roof deck.
If you find issues, address them before March. The dry season means repairs set correctly, caulk cures properly, and any moisture that got in has a chance to fully dry before the humidity returns. Waiting until May means you’re doing repairs in humid conditions and racing the start of storm season.
The May Documentation Routine: Building a Pre-Storm Baseline
The single most valuable thing you can do for your home insurance claim is something almost no one does: photograph your home’s condition before anything goes wrong. A May documentation routine takes under an hour and can mean the difference between a smooth claim and a protracted fight with your adjuster.
Insurance claims for storm damage depend on proving what damage the storm caused. If you can’t show what your home looked like before the storm, the insurer may argue that damage was pre-existing. That’s not a hypothetical risk. It’s the standard defense in disputed claims, and without documentation, you’re arguing from a position of weakness.
Here’s how to build your baseline:
- Choose a clear day in May. Good light matters for photo quality.
- Photograph every room from at least two angles. Wide shots show overall condition; close-ups show specific areas of concern.
- Photograph the exterior from all four sides, plus the roofline.
- Photograph any existing damage: a cracked tile, a water stain, a sticking door. Note these in a written log.
- Save a copy of your insurance policy declarations page to the same folder.
- Repeat this routine every May.
This documentation does something else too. When you file a claim, Keegan’s technicians arrive with professional equipment, run a full scope of loss, and document every damaged area with photos and moisture readings. Our documentation is formatted to support your insurance claim. If your pre-storm baseline shows a clean wall and our post-storm documentation shows a saturated wall, the claim is straightforward. If you have no baseline, the insurer has room to argue. Don’t give them the room.
Common Mistakes to Avoid
- Ignoring the musty smell in January. That smell is almost always mold, and it’s almost always been growing since October. The longer you wait, the larger the remediation scope and the higher the cost.
- Assuming a small leak will dry on its own. In Tampa’s humidity, it won’t. Any water intrusion into a wall cavity or under flooring needs active drying with professional equipment.
- Skipping HVAC condensate drain maintenance. This drain runs nearly year-round in Tampa, and clogs are one of the most common sources of interior water damage. Monthly vinegar flushes take two minutes.
- Doing storm prep only when a storm is forecast. The rush to buy supplies and secure the house when a named storm is three days out leads to missed steps. Do the durable prep in May.
- Failing to photograph pre-existing conditions. If you can’t prove what your home looked like before the storm, you lose leverage in the claim. The May documentation routine solves this.
- Waiting until summer to fix dry-season findings. Once humidity returns in May and June, drying slows, costs rise, and mold risk increases. Fix it while the air is dry.
- Hiring on price alone. Restoration work done wrong means the damage comes back. When you’re comparing quotes, ask about the written scope of work, the equipment brand, and the guarantee.
When to Call a Professional
Some things you can handle yourself: monthly condensate drain flushes, gutter cleaning, caulking a window frame, photographing your home. For the rest, our Water Damage Restoration Maintenance Checklist for Tampa Homeowners breaks down what to do and when. Other situations call for professional help, and calling early is always cheaper than calling late.
Call a professional if you have standing water from a burst pipe or storm intrusion, if you see water staining on a ceiling or wall that appears to be spreading, if you smell musty odors that return after cleaning, or if your HVAC condensate pan has overflowed. Also call if you’ve had any water event and you’re not certain the area dried completely. In Tampa’s humidity, “probably dry” is not dry. Fire Damage Restoration in Tampa and water damage professionals use moisture meters to verify drying, not guesswork.
Keegan Restoration Tampa offers free estimates in Tampa, and a live person answers the phone 24/7. If you see water where it shouldn’t be, call (850) 367-1316. It costs nothing to ask, and waiting almost always makes the problem bigger.
Frequently Asked Questions
In Tampa, water damage restoration typically ranges from $1,200 to $5,000 for a single-room water event, depending on the amount of water, the materials affected, and how long the water sat before drying began. A full mold remediation from a slow, hidden leak that ran for months can range from $3,000 to $15,000 or more. Call (850) 367-1316 for a written estimate, which Keegan delivers before any work starts.
Keegan Restoration Tampa dispatches crews across the Tampa area every day, and a live person answers the phone 24/7. In a water emergency, we get a crew to you as quickly as the schedule allows, and the first step is always extraction: getting standing water out so the damage stops spreading. Call (850) 367-1316 when you see water.
It depends on the source of the water. Sudden and accidental events, like a burst pipe or storm damage, are typically covered. Gradual leaks and neglect, like a slow drip that ran for months, are often denied or partially covered. Keegan documents every job to support your claim, and our technicians walk you through what your policy is likely to cover.
In Tampa, fans and open windows are rarely enough. The ambient humidity keeps materials wet, and mold begins growing within 24 to 48 hours. Professional drying uses equipment like Injectidry systems and desiccant dehumidifiers to pull moisture out of wall cavities and flooring, areas that fans simply can’t reach. If the intrusion was more than a surface spill, get it professionally dried.
The most obvious sign is water around the base of your air handler or a drip pan that’s holding water. You may also see water stains on the ceiling below an attic unit. If you notice any of these, shut the system off and call a professional, because the water has already backed up and is likely leaking into your home.
If you can see mold or smell it, you don’t need a test to know you have a problem. Testing is useful when you suspect hidden mold but can’t locate the source, or when you need documentation for an insurance claim or a real estate transaction. Keegan’s Mold Remediation in Tampa work includes a full scope of loss and documentation formatted for insurance.
The Bottom Line
Tampa homes face a year-round damage cycle. The wet season pushes water into the building envelope, and the dry season gives that water five months to grow mold if you don’t intervene. The homeowners who fare best are the ones who document in May, inspect in November, repair in February and March, and call a professional the moment they see any sign of moisture. The homeowners who fare worst are the ones who wait for the smell. If you want a written plan for your home, explore our more guides & resources or call Keegan Restoration Tampa at (850) 367-1316. We’ll tell you what you need, what it costs, and what we’ll do if it doesn’t hold up.
Written by Shane Pruitt, Owner at Keegan Restoration Tampa, serving Tampa since 2005.
See the difference
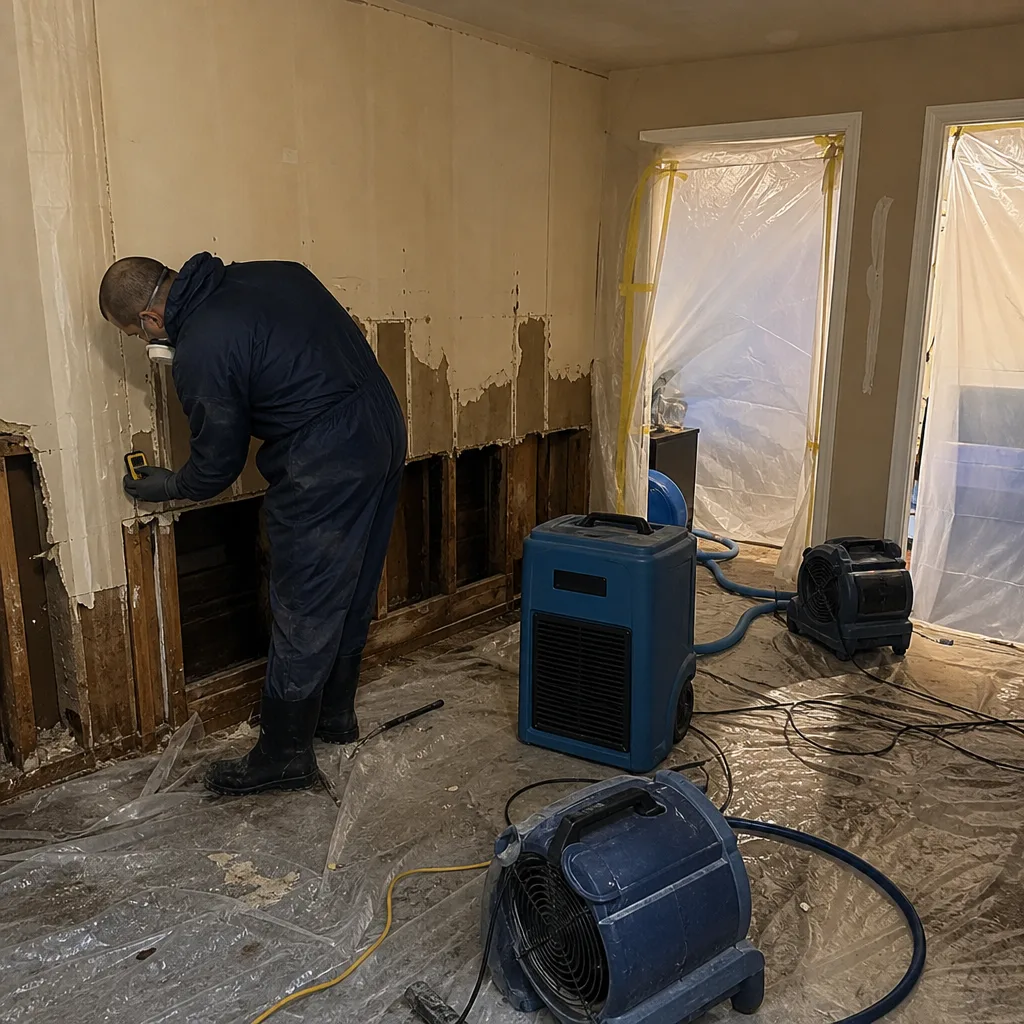 Before
 After
After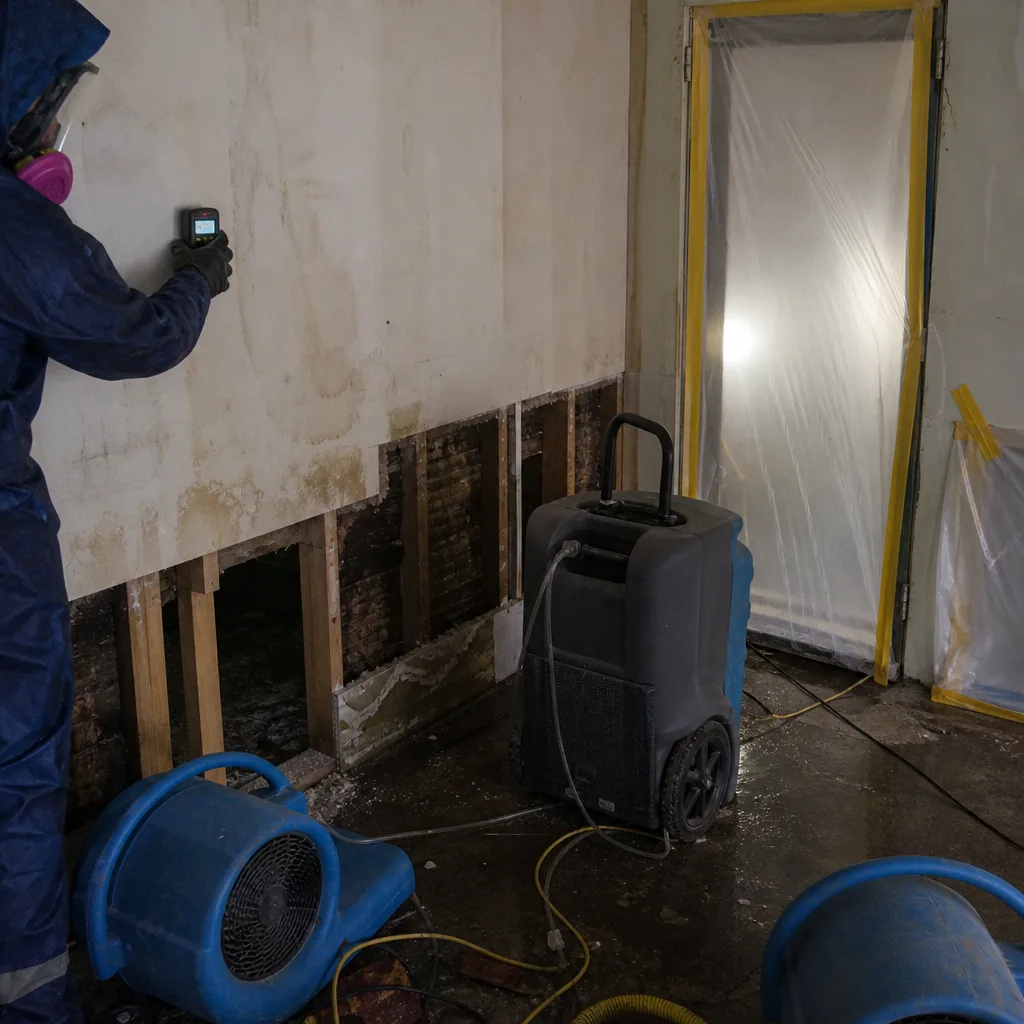 Before
 After
After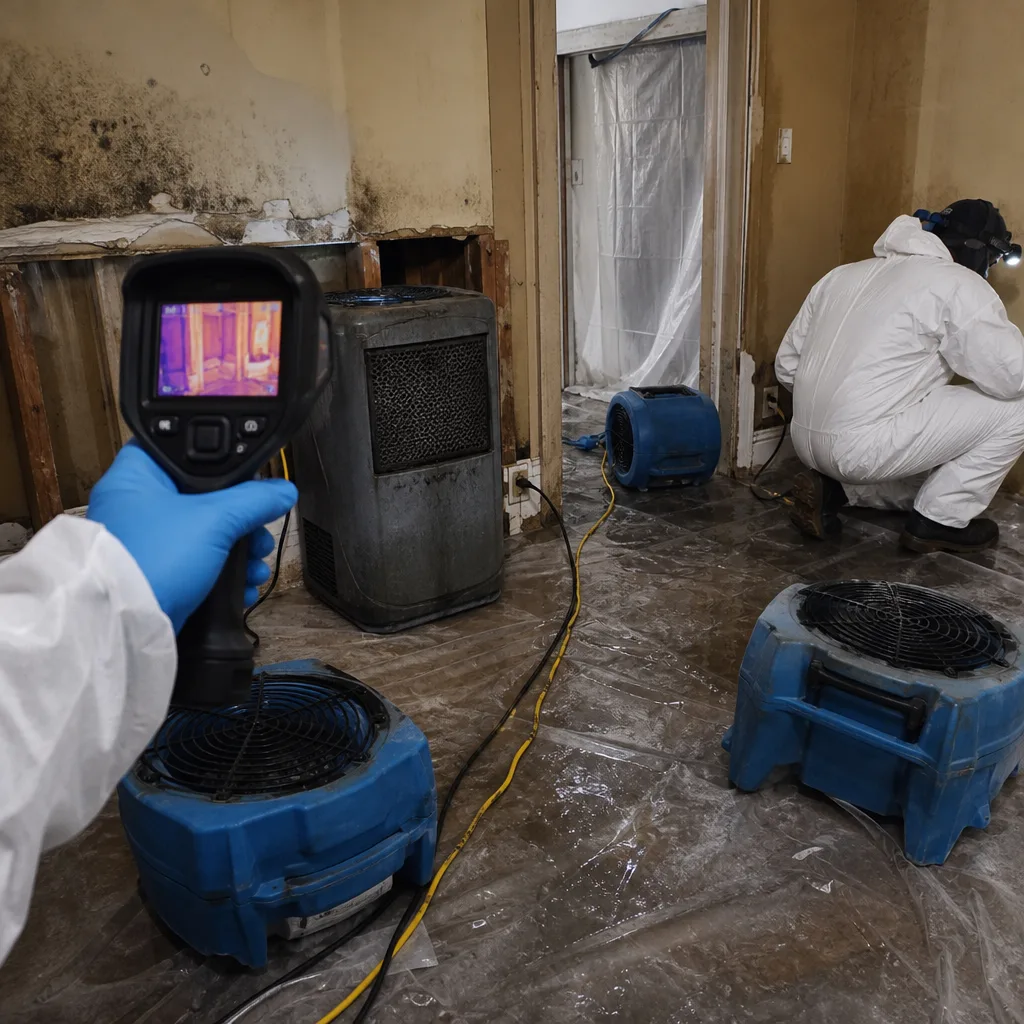 Before
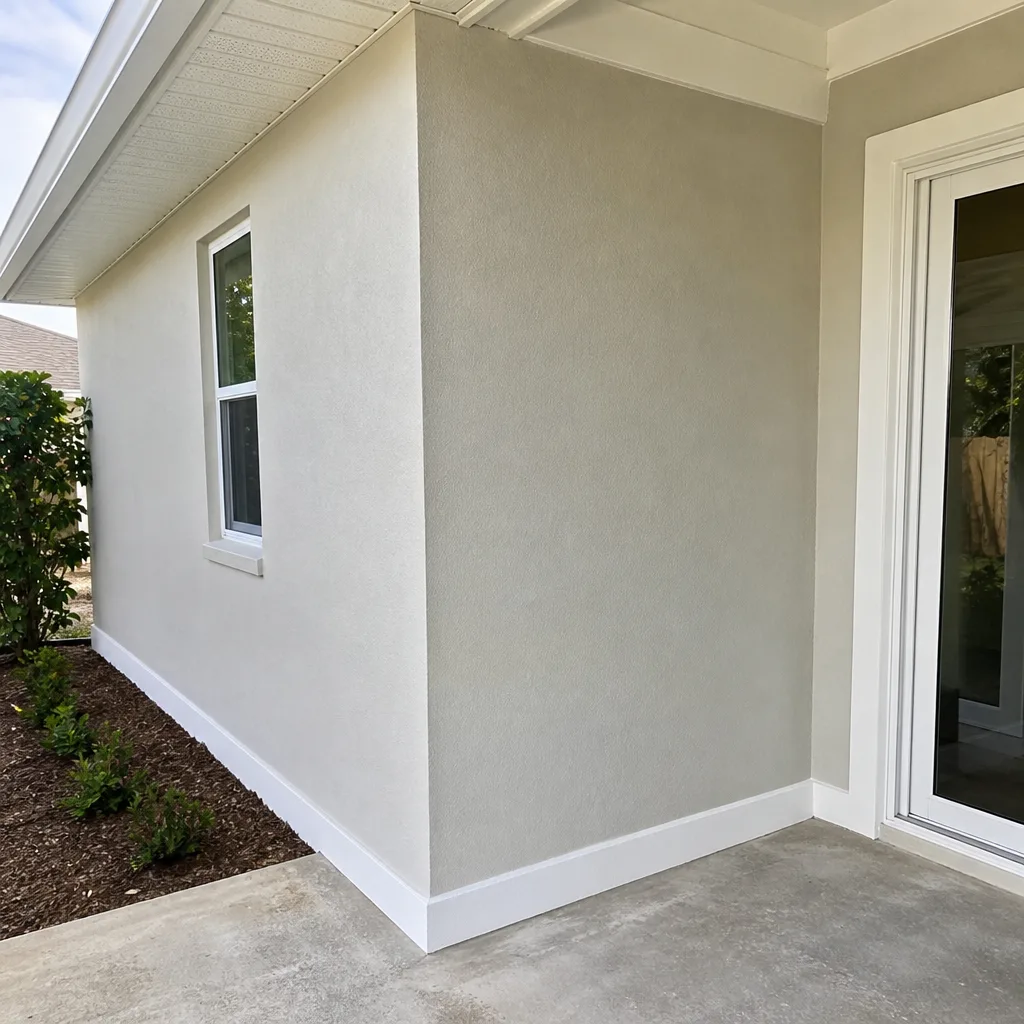 After
After